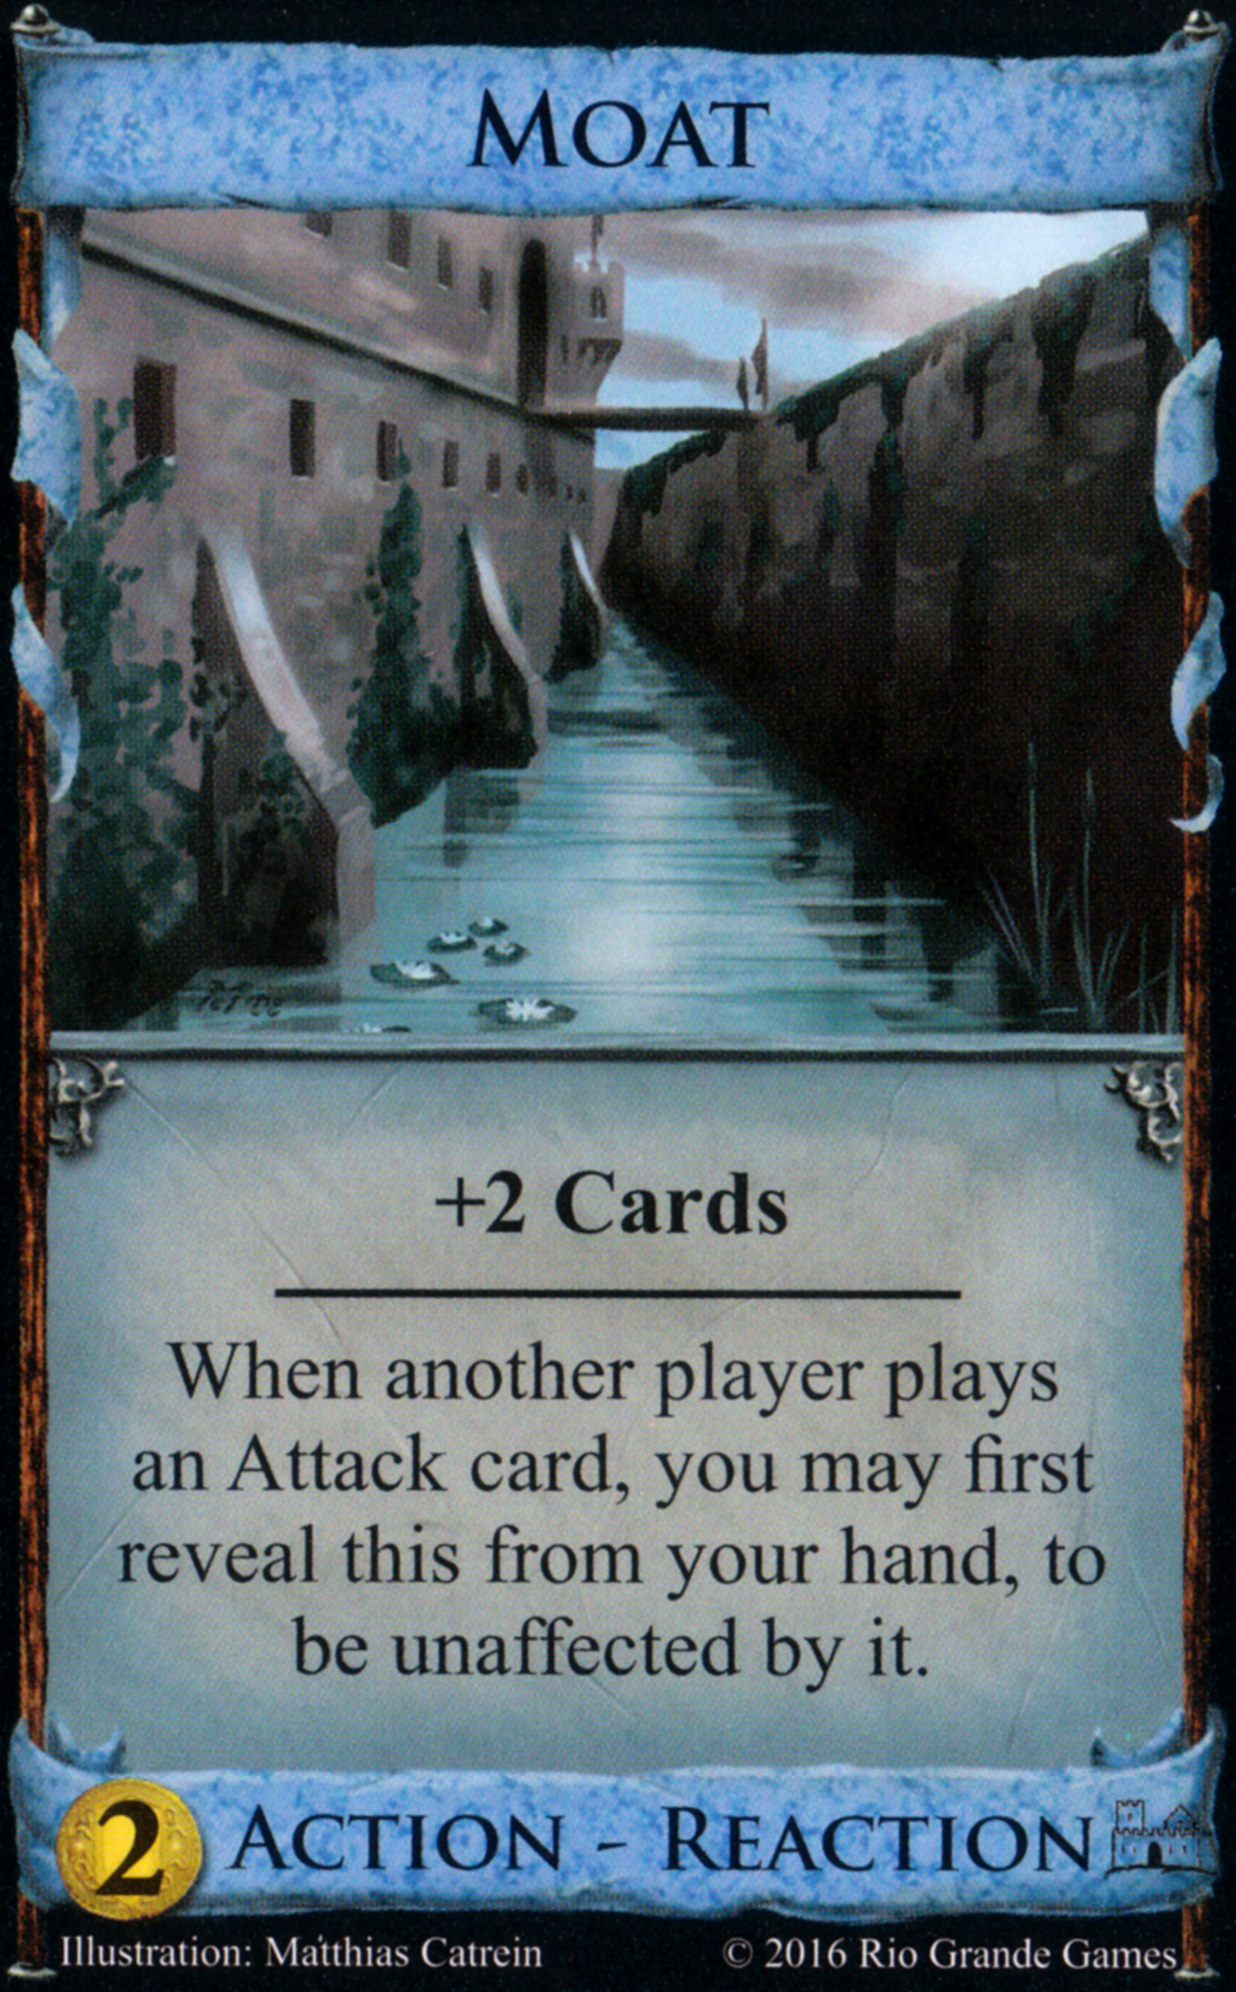
Moat (Dominion)
Cost: $2
Type: Action-Reaction
Text: +2 Cards\dWhen another player plays an Attack card, you may reveal this from your hand. If you do, you are unaffected by that Attack.
Strategy Review
Here's a comprehensive strategy guide for Moat in Dominion:
Introduction
Moat is one of the original cards from base Dominion and serves two distinct purposes: as a simple card drawer and as protection against Attack cards. This dual functionality makes it an interesting card to evaluate, as its utility can vary dramatically depending on the kingdom cards available and your opponents' strategies.
Core Functions
- Card Drawing (+2 Cards)
- Provides modest deck cycling
- Helps reach key cards in your deck
- Can improve consistency of hands
-
Costs only $2, making it very accessible early
-
Attack Protection
- Blocks all Attack cards when revealed from hand
- Must have it in hand when the Attack is played
- Only protects the player revealing it
- Can be revealed multiple times per turn
Basic Strategy
Early Game Considerations
When deciding whether to buy Moat early, consider:
- Attack Density
- How many Attack cards are in the kingdom?
- How likely are opponents to pursue Attack strategies?
-
Are the Attacks particularly devastating (like Witch) or minor (like Militia)?
-
Alternative Card Drawing
- Are there better card drawers available?
- Do you need early card draw for your strategy?
-
Can you afford more expensive card draw options?
-
Opportunity Cost
- What else could you buy for $2?
- Would Chapel, Cellar, or other cheap cards serve your strategy better?
- How will this affect your deck density?
Mid-Game Usage
Using Moat effectively in the mid-game requires:
- Timing Considerations
- Don't play Moat for cards if you might need its defensive ability
- Consider holding Moat in hand if you expect Attacks
-
Balance the need for card draw versus protection
-
Deck Composition
- More Moats increase protection chances but dilute deck
- Consider trashing Moats if Attack threat diminishes
- Maintain appropriate ratio to other cards
Advanced Strategy
Synergies and Combinations
- Card Draw Chains
- Works well with other cheap card drawers
- Can help find key cards more consistently
- Enables longer action chains
- Pairs well with:
- Laboratory
- Village variants
-
Other cheap card drawers
-
Reaction Synergies
- Can be combined with other Reaction cards
- Particularly effective with:
- Horse Traders
- Watchtower
-
Secret Chamber (in older editions)
-
Duration Card Protection
- Can protect against multi-turn Attack effects
- Particularly relevant against:
- Swamp Hag
- Bridge Troll
- Haunted Woods
Optimal Number of Moats
The ideal number of Moats depends heavily on context:
- Heavy Attack Environment
- 2-3 Moats recommended
- Provides reliable protection
-
Still allows space for engine building
-
Light Attack Environment
- 0-1 Moats sufficient
- Focus on card drawing benefit
-
Consider skipping entirely if better options exist
-
No Attack Environment
- Generally skip unless desperate for card draw
- Better $2 options usually available
- Consider only as part of specific strategies
Specific Attack Card Interactions
- Strong Protection Value
- Witch (blocks curse)
- Young Witch (blocks curse)
- Ghost Ship (blocks deck disruption)
-
Torturer (blocks tough choice)
-
Medium Protection Value
- Militia (blocks minor hand reduction)
- Margrave (blocks hand reduction but not +Buy)
-
Sea Hag (blocks curse)
-
Lower Protection Value
- Bureaucrat (blocks minor deck disruption)
- Bandit (blocks gold/platinum trash)
- Swindler (blocks card transformation)
Counter-Strategy
Playing Against Moat
- Timing Attacks
- Play Attacks when opponents likely lack Moat
- Consider multiple Attack cards in one turn
-
Force opponents to reveal Moat early
-
Alternative Strategies
- Pivot to non-Attack strategies
- Focus on engine building
-
Utilize alt-VP strategies
-
Deck Inspection
- Track opponent's Moat purchases
- Estimate probability of Moat in hand
- Adjust Attack timing accordingly
Common Mistakes to Avoid
- Over-investing in Moats
- Don't buy too many early
- Consider trashing excess copies
-
Balance protection versus deck efficiency
-
Playing Moat Too Early
- Don't use for card draw if Attack protection needed
- Consider hand composition
-
Think about opponent's likely plays
-
Neglecting Other Options
- Don't fixate on Moat for protection
- Consider alternative strategies
- Evaluate opportunity costs
Special Considerations
- Multiplayer Games
- More players mean more potential Attacks
- Higher value for Moat
-
Consider position relative to Attack players
-
Kingdom Composition
- Evaluate alternative card draw options
- Consider trash-for-benefit cards
-
Assess victory condition requirements
-
Opening Buys
- Usually not ideal as sole $2 opening
- Better paired with stronger $4/$5 card
- Consider alternative $2 cards
Specific Game Situations
Early Game Opening
- Strong Opening Scenarios
- Kingdom has multiple Attack cards
- No better $2 options available
-
Complements $4/$5 card strategy
-
Weak Opening Scenarios
- No Attack cards present
- Better $2 options available
- Strong engine components available
Mid-Game Transitions
- When to Add Moats
- Opponents building Attack-heavy decks
- Need additional card draw
-
Protecting key engine components
-
When to Remove Moats
- Attack threat diminishing
- Deck becoming too diluted
- Better card draw available
Late Game Considerations
- Keeping Moats
- Continuing Attack pressure
- Part of draw engine
-
Protection still valuable
-
Trashing Moats
- Streamlining for Province purchases
- Attack threat gone
- Better cards available
Advanced Tips and Tricks
- Hand Management
- Track opponent's Attack cards
- Position Moat appropriately in hand
-
Balance protection versus action usage
-
Deck Tracking
- Monitor Moat distribution
- Estimate protection probability
-
Adjust strategy accordingly
-
Tactical Considerations
- Use as fake out (showing Moat presence)
- Force opponent strategy changes
- Leverage information advantage
Kingdom Analysis Examples
- Attack-Heavy Kingdom Example Kingdom:
- Witch
- Militia
- Ghost Ship
- Moat
- Village Strategy:
- Higher priority on Moat
- Consider multiple copies
-
Balance with engine building
-
Mixed Kingdom Example Kingdom:
- Witch
- Laboratory
- Market
- Moat
- Chapel Strategy:
- Moderate Moat priority
- Focus on engine building
-
Consider alternative protection
-
Non-Attack Kingdom Example Kingdom:
- Market
- Village
- Laboratory
- Moat
- Gardens Strategy:
- Skip Moat unless desperate for draw
- Focus on engine components
- Consider alternative strategies
Conclusion
Moat is a versatile card that requires careful consideration of the game state to use effectively. Its dual nature as both protection and card draw makes it valuable in many situations, but proper timing and quantity are crucial for optimal use. Understanding when to buy, hold, play, or trash Moat can significantly impact game outcomes.
Key Takeaways:
- Evaluate kingdom context carefully
- Attack presence and severity
- Alternative card draw options
-
Victory conditions
-
Consider optimal quantity
- Usually 1-3 copies maximum
- Adjust based on Attack presence
-
Balance protection versus deck efficiency
-
Practice proper timing
- Hold for protection when needed
- Use for draw when safe
-
Monitor opponent's strategies
-
Maintain flexibility
- Adapt to changing game state
- Consider trashing when unnecessary
- Balance multiple uses effectively
Moat's strength lies in its flexibility and accessibility, but maximizing its potential requires careful consideration of game context and strategic timing. Used properly, it can provide both protection from devastating Attacks and the card draw needed to execute your strategy effectively.