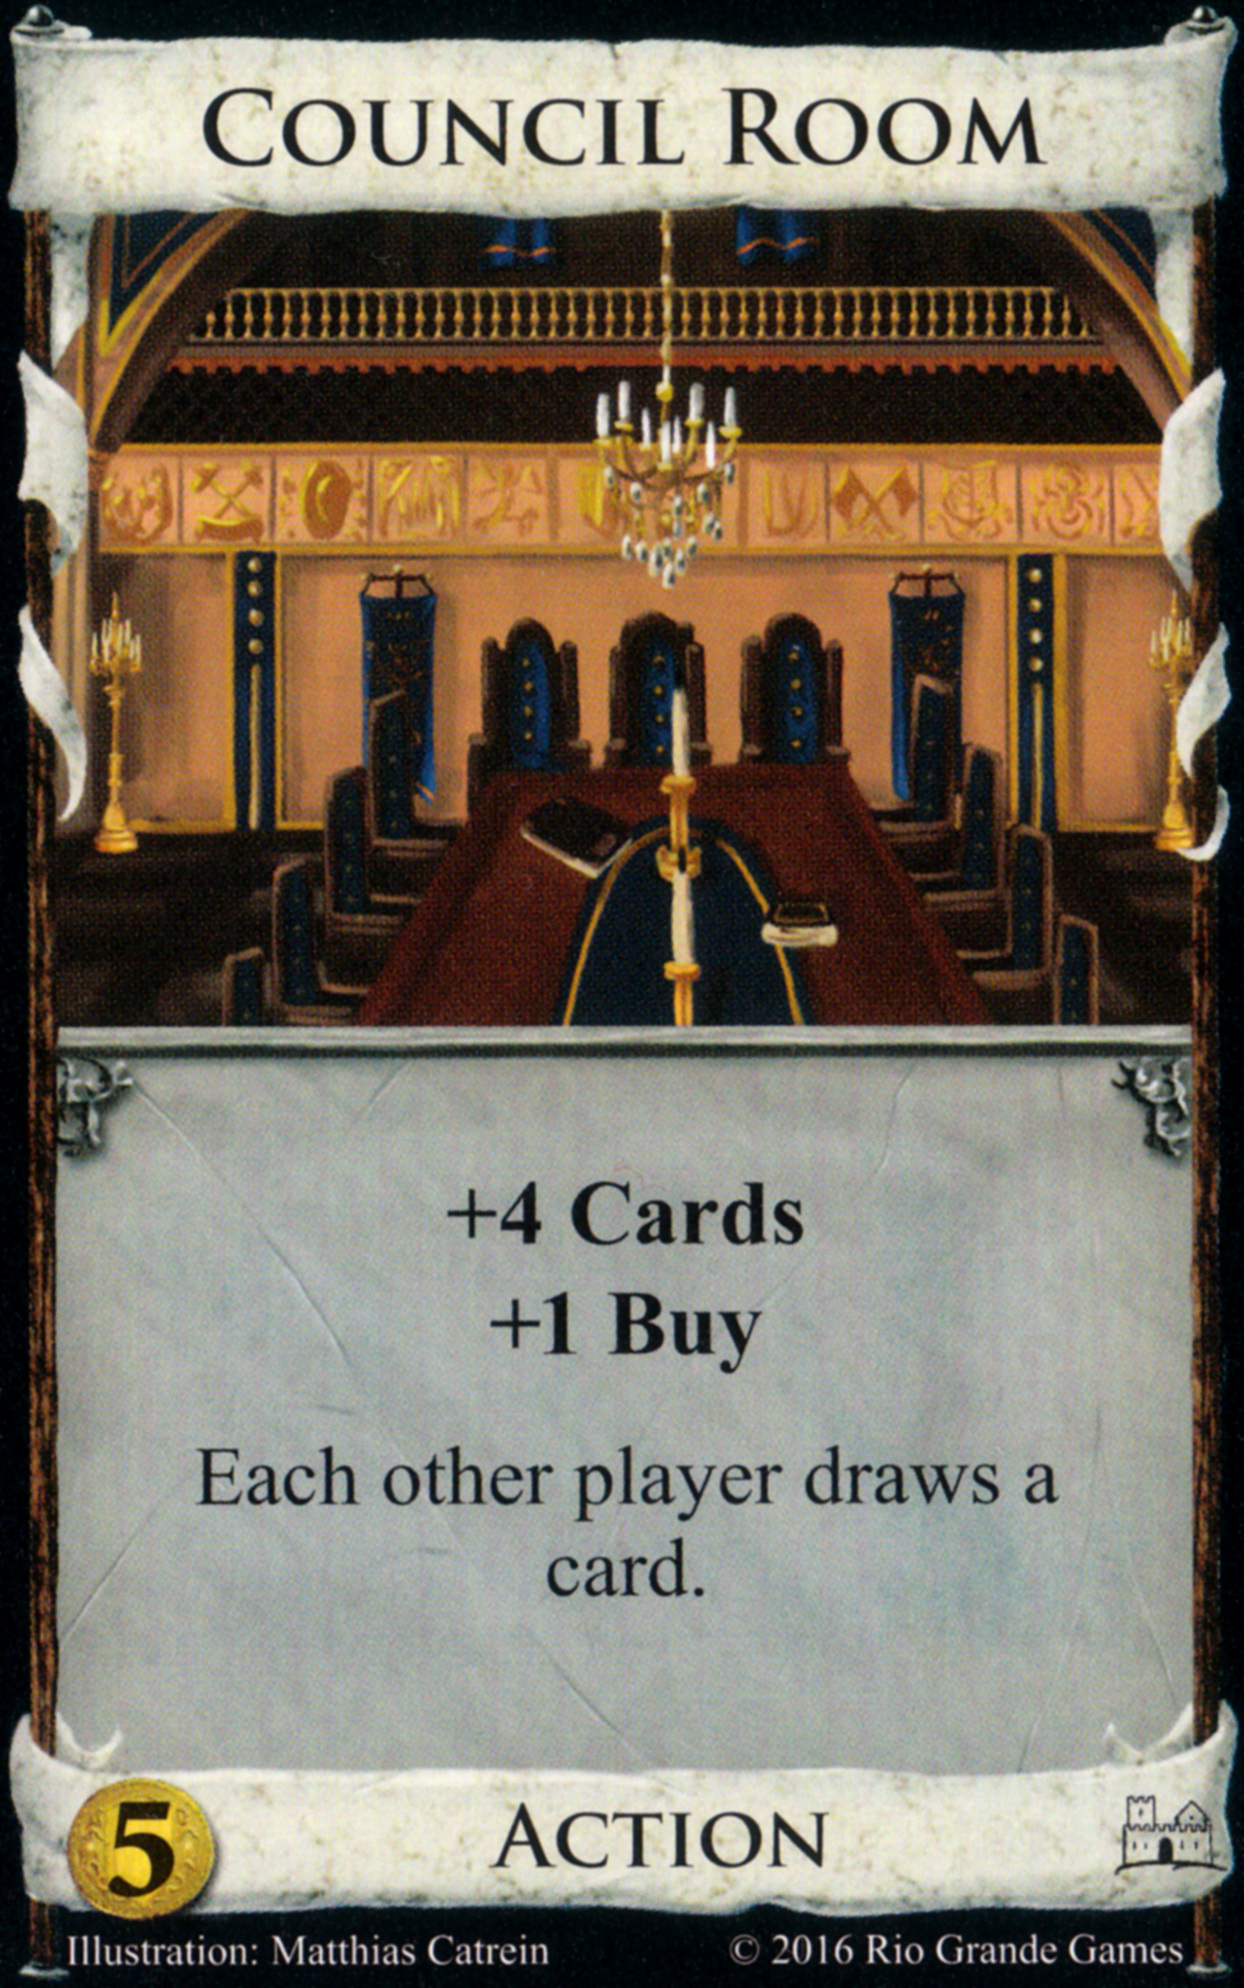
Council Room (Dominion)
Cost: $5
Type: Action
Text: +4 Cards\n+1 Buy\nEach other player draws a card.
Strategy Review
Here's a comprehensive strategy guide for Council Room:
Council Room Strategy Guide
Introduction Council Room is a classic $5 action card from the base Dominion set that provides significant card draw along with an extra buy, at the cost of giving each opponent a card. While the card appears straightforward, using it effectively requires careful consideration of timing, deck composition, and game context. This guide will explore when to buy Council Room, how to maximize its benefits, and how to mitigate its drawbacks.
Core Benefits - Draw 4 cards - Gain 1 buy - Immediate impact on hand size - Helps reach price points consistently - Enables big money strategies - Supports engine building
Key Drawbacks - Gives opponents cards - Takes up an action - Competes with other strong $5 cards - Can lead to deck bloat if overdone
When to Buy Council Room
Early Game Considerations Council Room is generally a solid early-game purchase when: 1. You have no other card draw in your starting deck 2. You want to reach higher price points consistently 3. You need extra buys for a multiple-card strategy 4. Your opponents' deck quality is still low (minimizing the drawback)
However, avoid buying Council Room early if: - There are strong competing $5 cards like Laboratory or Market - You already have sufficient card draw - Your strategy requires precise deck control - Opponents can capitalize strongly on extra cards
Mid-Game Considerations During the middle phase of the game, Council Room becomes more situational: - Better when you need to accelerate toward victory points - Valuable when extra buys enable key purchases - Riskier as opponent decks improve - Must weigh against alternative $5 purchases
Late Game Considerations In the endgame, Council Room's value often diminishes: - Drawing victory cards becomes less useful - Giving opponents cards becomes more dangerous - Extra buys matter less with depleted piles - Can still help find key cards in a pinch
Deck Composition and Council Room
Ideal Support Cards
Terminal Action Support: - Villages and variants (helps handle multiple Council Rooms) - Throne Room/King's Court (multiplies the effect) - Duration cards that provide actions
Treasure Support: - Silver/Gold (helps reach price points) - Merchant (benefits from drawing multiple cards) - Bank (grows stronger with more cards played)
Victory Card Considerations: - Gardens (benefits from larger deck size) - Duke/Duchy combos (helps find matching pairs) - Victory cards that provide benefits (like Great Hall)
Number of Council Rooms to Buy
The optimal number depends on your strategy: 1-2 Council Rooms: - For Big Money variants - When supplementing other draw - In slogs or defensive games
3-4 Council Rooms: - In engine builds with village support - When extra buys are crucial - In races to empty piles
5+ Council Rooms: - Rarely optimal - Can work with massive action support - Risk of serious deck bloat
Combos and Synergies
Strong Combinations
Village + Council Room: - Classic engine component - Enables multiple Council Rooms per turn - Helps build toward bigger turns
Throne Room/King's Court + Council Room: - Massive card draw - Multiple extra buys - Can enable game-ending turns - Consider opponent card gain carefully
Duration Cards + Council Room: - Fishing Village provides future actions - Haven can set up next turn - Wharf complements the draw strategy
Treasury + Council Room: - Helps manage deck composition - Returns to deck when buying victory cards - Provides consistent economy
Counter-Synergies and Risks
Attack Cards: - Militia/Bureaucrat less effective when giving cards - Witch gives curse AND card - Ghost Ship targeting becomes harder
Deck Inspection: - Spy becomes less reliable - Scrying Pool less effective - Sentinel harder to plan with
Careful Timing Required: - Watchtower reactions - Trader decisions - Tunnel reveals
Playing Against Council Room
Defensive Strategies
- Rush Strategies:
- Push to end game before engines develop
- Focus on provinces before draw becomes overwhelming
-
Consider alternative victory cards
-
Deck Control:
- Use trashing to maintain efficiency
- Avoid dead cards that Council Room might draw
-
Keep deck lean to maximize extra cards received
-
Counter Cards:
- Militia can discard excess cards
- Ghost Ship can top-deck bad cards
- Bureaucrat forces victory cards back
Exploiting the Extra Card: - Build engines that benefit from more cards - Use reaction cards effectively - Time purchases to maximize benefit from draws
Game Scenarios and Council Room
Opening $5/$2: - Council Room vs. Market - Council Room vs. Laboratory - Council Room vs. Duke Consider kingdom context and planned strategy
Mid-Game Decision Points: - Adding draw vs. adding actions - Balancing economy and draw - Managing deck size - Victory card timing
Endgame Considerations: - Province accessibility - Pile-out potential - Opponent deck quality - Alternative victory paths
Kingdom Evaluation
Favorable Kingdoms:
- Action-heavy boards:
- Multiple villages available
- Card draw multipliers present
-
Engine-building components
-
Buy-dependent strategies:
- Multiple useful $3-4 cards
- Split pile considerations
-
Alternative victory cards
-
Complementary mechanics:
- Duration card support
- Treasure-focused strategies
- Deck-size benefits
Unfavorable Kingdoms:
- Attack-heavy boards:
- Strong discard attacks
- Deck inspection attacks
-
Cursing attacks with draw
-
Trashing-focused games:
- Chapel openings
- Trading Post strategies
-
Remake chains
-
Alternative strategies:
- Strong alternative $5 cards
- Rush-enabling kingdoms
- Single-card focus games
Common Mistakes to Avoid
Overbuying Council Rooms: - Too many terminals - Excessive deck size - Diminishing returns
Poor Timing: - Buying too early - Holding too long - Bad play ordering
Strategic Errors: - Ignoring opponent benefit - Poor buy utilization - Neglecting action support
Advanced Techniques
Turn Optimization: 1. Play ordering with other cards 2. Managing reshuffles 3. Timing with reactions
Buy Phase Planning: 1. Utilizing extra buys effectively 2. Managing price points 3. Pile control considerations
Deck Tracking: 1. Monitoring deck size 2. Tracking opponent benefits 3. Managing green card density
Sample Strategies
Big Money + Council Room: - 1-2 Council Rooms - Focus on economy - Minimal other actions - Province focus
Engine with Council Room: - 2-4 Council Rooms - Village support - Additional draw/actions - Multiple paths to victory
Rush with Council Room: - 1-2 Council Rooms - Quick treasure acquisition - Early victory card pressure - Pile control focus
Conclusion
Council Room is a solid card that requires careful consideration of timing, deck composition, and game context. Its strong draw power and extra buy come with the significant drawback of helping opponents, making it important to ensure the benefits outweigh the costs in any given situation.
Success with Council Room depends on: - Proper kingdom evaluation - Clear strategy development - Careful timing of purchases - Effective use of extra buys - Management of opponent benefits
When used correctly, Council Room can be a powerful engine component or big money supplement. When used poorly, it can accelerate opponent strategies and lead to defeat. Understanding these dynamics is key to making Council Room work effectively in your Dominion games.
Remember: - Evaluate kingdom context carefully - Plan support for multiple Council Rooms - Consider opponent deck quality - Time purchases strategically - Use extra buys effectively - Monitor deck composition - Adjust strategy as game develops
With proper consideration of these factors, Council Room can be a valuable addition to many Dominion strategies, providing the card draw and buying power needed to execute powerful turns and build toward victory.